friendship bracelets have captured hearts for generations. These vibrant woven bands often exchanged as tokens of friendship, offer a delightful way to express creativity and share something special with your loved ones. But how do you get started, especially if you're new to the wonderful world of friendship bracelets? This guide will take you on a step-by-step journey to create beautiful friendship bracelets using just three strings, perfect for beginners and seasoned crafters alike.
Gathering Your Supplies:
Before you embark on your braiding adventure, you'll need a few simple materials:
Embroidery floss: Choose three different colors for a classic friendship bracelet look, or get wild with a color palette that reflects your unique style.
Scissors: To snip your floss to the perfect length.
Tape (optional): To secure the ends of your floss while braiding.
Clip (optional): As an alternative to tape, you can use a clip to hold your floss in place.
Choosing Your Braiding Path (Optional):
The beauty of friendship bracelets lies in their endless variety. There are countless braiding patterns available online and in craft books, each offering a unique look and complexity. This guide will focus on a fundamental three-string braid, perfect for beginners to master before venturing into more intricate designs.

Let's Get Braiding: The Basic Three-String Braid
With your materials gathered and your creativity sparked, it's time to get braiding! Here's how to create a beautiful three-string braid:
A. Prepping Your Strings:
Cut three equal lengths of embroidery floss. The length will depend on your desired bracelet size, with extra allowance for tying knots at the ends. A good rule of thumb is to cut each string at least twice your desired bracelet length.
For stability, while braiding, you can secure the ends of the floss to a flat surface using a small piece of tape. Alternatively, use a clip to hold them together.
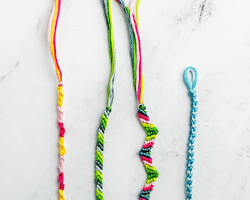
B. Mastering the Braid:
Hold two strings together in one hand and the third string in the other hand. This is the starting position for your braid.
The braiding magic happens here! Take the outer string (from the hand holding two strings) and move it over the middle string. Then, take the new middle string (which was previously the outer string) and place it under the remaining string that was originally in your other hand.
Repeat this process – outer string over the middle, new middle string under the remaining string. This sequence of movements forms the braid pattern.
C. Maintaining Tension:
After each completed braid sequence, gently pull on the strings to maintain tension. This will ensure your bracelet has a neat and even look.
Finishing Touches and Beyond
A. Reaching Your Desired Length:
Continue braiding following the steps above until your bracelet reaches your desired length. Remember to account for extra room at the ends for tying knots.
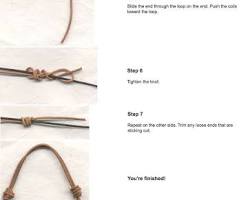
B. Securing Your Creation:
Once you've reached the desired length, tie a simple knot at each end of the braid to secure the bracelet. Trim off any excess floss close to the knots for a clean finish.
A World of Customization Awaits
The basic three-string braid is just the beginning of your friendship bracelet journey! There are endless possibilities for customization:
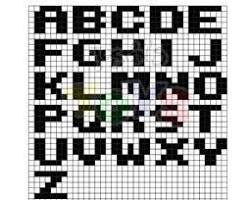
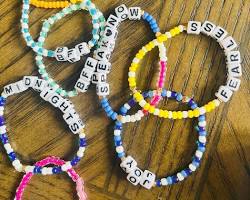
Explore different color combinations to create unique patterns and personalized messages within your braid.
As you gain confidence, venture into more intricate braiding patterns for a more challenging and visually striking look.
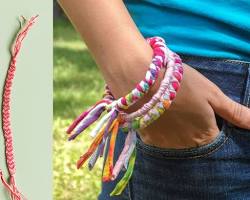
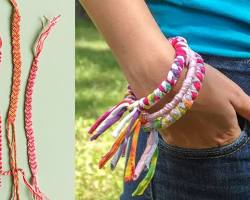
Friendship bracelets with three strings are a delightful way to express yourself and craft something special. With this guide as your starting point, you're well on your way to creating beautiful tokens of friendship or simply handmade accessories that showcase your creativity. So grab your floss, unleash your inner braider, and get weaving!

Stiven is an experienced bracelet making expert with over 10 years of making experience. They have a deep knowledge of a variety of materials and techniques to create a variety of exquisite bracelets, from simple beaded bracelets to complex multi-strand braided bracelets.
This article was written by Stiven in combination with AI. The content described in this article is based on the author's personal opinions and data collection. If there are any errors or deficiencies, please correct me.