bead bracelets are a timeless and fun way to accessorize, and the best part? They're surprisingly easy to make! With a little creativity and some basic supplies, you can whip up beautiful bracelets in no time. This beginner's guide will walk you through everything you need to know to get started.
Materials:
●Gather these supplies before you begin:
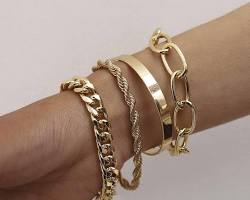
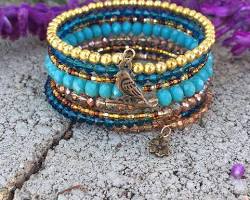
●Beads: Here's where you can unleash your creativity! Choose beads in various colors, sizes, and materials like plastic, glass, wood, or even gemstones.
●String: Depending on the type of bracelet you want, you can use an elastic cord for a stretchy option, thread for a more delicate look, or even string.
●Scissors: To cut your string or thread to the desired length.
Optional: Clasp and crimp beads (for a more secure closure with thread or string).
Choosing Your Design (Optional):
Don't feel limited! You can find countless bead bracelet designs online or in craft books. Experiment with different color combinations, patterns, or even letter beads to spell out a message. If you're feeling creative, design your unique pattern!
Stringing the Beads:
Now for the fun part - building your bracelet!
●Threading Basics: Start by threading your string through the first bead. Hold onto the end of the string to prevent it from slipping through. Once the first bead is secured, simply continue adding beads one at a time, pushing them up the string toward the starting point.
●Different String Types: Elastic cord offers a comfortable, stretchy fit and is perfect for creating bracelets that slip on and off easily. Thread or string is ideal for a more classic look, but you'll need a clasp for closure.
Finishing the Bracelet:
Here's where you secure your creation:
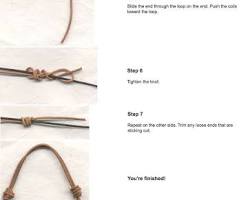
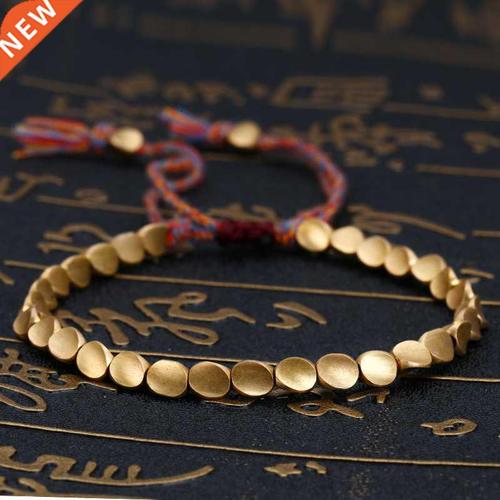
●Tying a Knot (for elastic cord): Once you've strung enough beads for your desired bracelet size, create a secure knot by threading one end of the cord back through the last two or three beads. Pull the cord to tighten the knot, then repeat on the other side. Cut off any excess cord with your scissors.
●Using a Clasp (for thread or string): For a more secure closure with thread or string, you'll need a clasp and crimp beads. Crimp beads act like tiny clamps that hold the end of the string to the clasp. Consult jewelry-making tutorials online or in craft stores for detailed instructions on using crimps and clasps.
Additional Tips:
Threading with a Needle (Optional): For easier stringing, especially with smaller beads, consider using a beading needle. These needles have a large eye that allows you to easily thread the string and then pass it through the beads.
Measuring Your Wrist: To ensure a perfect fit, measure your wrist with a piece of string or ribbon. Cut your bracelet string to this length, adding a little extra for tying the knot or attaching the clasp.
As you can see, creating beautiful bead bracelets is a breeze! With a handful of supplies and a little creativity, you can craft unique and personalized jewelry. So grab your beads, unleash your imagination, and get started on your next dazzling bracelet creation!

Stiven is an experienced bracelet making expert with over 10 years of making experience. They have a deep knowledge of a variety of materials and techniques to create a variety of exquisite bracelets, from simple beaded bracelets to complex multi-strand braided bracelets.
This article was written by Stiven in combination with AI. The content described in this article is based on the author's personal opinions and data collection. If there are any errors or deficiencies, please correct me.