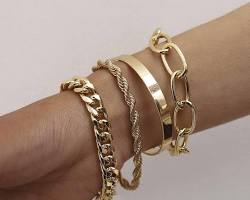
Knot bracelets are a fantastic way to add a touch of personalized flair to your wrist. The beauty of these handmade accessories lies in their versatility. With a variety of knots to choose from and different cord options available, you can create knot bracelets that are both stylish and secure. So, how to tie a knot bracelet and bring your design vision to life? This guide will show you everything you need to know!
Materials Needed:
Gather these essential supplies to craft your unique knot bracelet:

Cord appropriate for knotting (choose based on desired style and thickness – macrame cord for a classic look, leather cord for a touch of elegance, hemp cord for a natural feel)
Scissors (to cut the cord)
Optional: Clasp (for easier wear), Beads (for embellishment)
Understanding Knot Choice
Choosing the right knot is an important step in creating your knot bracelet. The ideal knot will depend on a few factors:
Strength: You want a knot that's secure and can hold the tension of the cord, especially if the bracelet will see a lot of wear.
Style: Some knots are purely functional and secure, while others offer a more decorative element. Consider the overall look you're going for when selecting your knot.
Cord Material: Certain knots may work better with specific cord types. For example, a thicker macrame cord might be suited for a square knot, while a thinner hemp cord might be better for a surgeon's knot.
This guide will focus on the square knot, a popular and secure option for knot bracelets. We'll also briefly mention the surgeon's knot as an alternative.
Step-by-Step Guide: Tying a Square Knot
Now that you've chosen your cord and knot, let's get started on creating your bracelet!
Cutting and Preparing the Cord: Measure and cut your cord to a desired length. Remember to factor in the size of the knot itself when determining the overall bracelet length. A good rule of thumb is to add a couple of inches to your desired bracelet size to account for knotting and any potential trimming.
Creating a Loop: Take one end of the cord and fold it back towards itself, creating a loop at the end.
Second Cord Through the Loop: Now, take the other tail end of the cord and carefully thread it up through the loop you just created in step 2.
Pulling Tight: Hold both ends of the cord securely and gently pull on them to tighten the first half of the knot. Make sure the loop stays closed as you tighten.
Repeating the Loop and Pull: Here's where the knot gets secure! Repeat steps 2-4. Create another loop with the same tail end you used in step 2, and then thread the other tail end through that new loop. Once again, gently pull on both cords to tighten the second half of the knot.
Trimming the Excess Cord: With your secure knot in place, you can trim any excess cord close to the knot using your scissors.
Alternative Knot: Surgeon's Knot (Optional)
The surgeon's knot is another popular option for knot bracelets. It's known for its strength and security. If you'd like to learn how to tie a surgeon's knot, you can find helpful visual guides and instructions online.
Finishing Touches (Optional): Adding Beads and Clasp
While the square knot creates a secure closure, you can further personalize your bracelet with some additional touches:
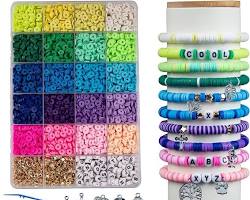
Beads: For an embellished look, you can incorporate beads into your bracelet design. There are two ways to do this: thread your beads onto the cord before you begin knotting, or weave them into the knot itself (certain knots are better suited for this technique).
Clasp: If you prefer the convenience of a clasp, you can use appropriate jewelry-making pliers to attach the clasp ends to the remaining cord tails after tying the knot.
Testing and Adjusting
Before you flaunt your new creation, it's important to test the closure. Gently tug on the bracelet to ensure the knot is secure and the clasp (if used) functions properly. If the knot feels loose, you can try tightening it or re-tying it if necessary.
Creating your knot bracelets allows you to express your creativity and end up with unique and personalized pieces of jewelry. Now that you know how to tie a knot bracelet, you can explore different knots, cord materials, and embellishments to create a collection you'll love. So, grab your cord, unleash your imagination, and get knotting!
Bonus Tip:
For easier beading and organization, especially for beginners, consider using masking tape to secure the cord end while knotting. This will help keep your cord from unraveling and make the process smoother.
Happy knotting!
This article was written by Stiven in combination with AI. The content described in this article is based on the author's personal opinions and data collection. If there are any errors or deficiencies, please correct me.

