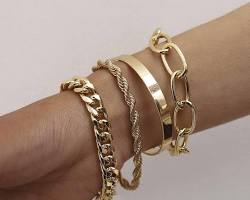
Ever wondered how to make a bracelet with string and beads? These charming handmade creations are more than just accessories; they're a canvas for your creativity and a delightful way to express your unique style. This guide will unveil the magic of string and bead bracelets in 5 easy steps, transforming you from a curious beginner into a confident bracelet maker!
Essential Supplies: Gathering Your Creative Arsenal
Before you embark on your string and bead adventure, gather these tools :
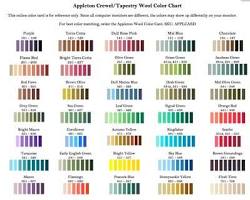
Embroidery floss in your desired colors (choose at least 2 for a classic design)
Scissors
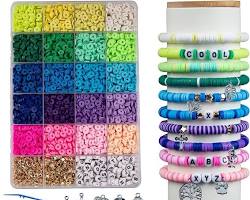
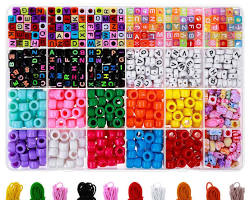
Beads (various sizes, shapes, and colors to match your floss choices)
Tape (optional, to secure the strings while braiding)
Clasp (optional, for a closure)
Sizing Up for Success: Finding the Perfect Fit
A well-fitting bracelet is key to comfort and style. Grab a flexible tape measure and measure your wrist. To ensure your creation isn't too tight, add an inch to your wrist measurement for the desired bracelet length. Remember, a slightly larger bracelet is always adjustable during braiding for a snugger fit.
Mastering the Square Knot: A Cornerstone Technique
The square knot is the foundation of many string and bead bracelets. Don't worry, it's a breeze to learn! Here's a breakdown of this essential technique:
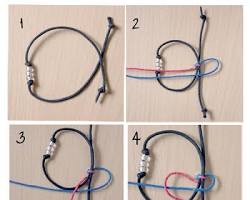
Cut generous lengths of embroidery floss (around 24 inches each) in your chosen colors. Secure the ends together with a simple knot.
Hold the floss strands together, placing the colors how you want them to appear in the finished product. The left cord will always be on your left-hand side.
Take the left cord and pass it over to the right cord.
Then, bring the left cord underneath both the right cord and itself, forming a loop.
Take the right cord and put it up through the loop you just created.
Gently pull both cords to tighten the knot. Congratulations, you've made a square knot!
Building Your Beaded Masterpiece: Stringing and Braiding Techniques
Now that you've mastered the knot, let's get braiding!
Secure the knotted ends of your floss using a piece of tape (optional) or another simple knot.
Begin braiding! Using the square knot technique, alternate between the left and right cords, continuously tightening the knots as you go.
Here comes the fun part: personalization! Slide a bead onto one of the strings just before creating a knot. Tighten the knot, securing the bead in place between the two strings. Continue braiding and adding beads in your desired pattern.
Beyond the Basics: Exploring Design and Personalization
String and bead bracelets offer a world of creative possibilities. Here are some ideas to inspire you:
Color Play: Experiment with different floss and bead color combinations. Create geometric patterns, meaningful symbols, or even words using Morse code (a fun way to incorporate secret messages into your bracelet).
Bead Bonanza: Unleash your inner designer! Use a variety of bead sizes, shapes, and textures to add visual interest and dimension to your bracelet. Flat, round, and even letter beads can be incorporated to create unique designs.
Charm It Up: Incorporate small charms or pendants with special meaning into your design for a personalized touch. This is a great way to commemorate a special occasion or represent your hobbies and interests.
Knot Your Average Bracelet: As you gain confidence, explore different knotting techniques beyond the square knot. The forward-backward knot and the cobra weave are popular options that can add complexity and visual intrigue to your creations (consider including links to online tutorials for these techniques).
Finishing Touches: Securing Your Creation
Once your bracelet reaches the desired length, it's time to secure the ends:
Tie an overhand knot at the very end of each cord. Trim the excess floss close to the knot with scissors.
(Optional) If using a clasp, follow the clasp's specific instructions to attach it to the ends of the floss.
Inspiration and Ideas: A World of Creative Possibilities
Don't hesitate to browse online for inspiration and tutorials showcasing various string and bead bracelet designs. You can find patterns and color combinations for every style imaginable! With a little practice and this guide as your reference, you'll be crafting beautiful and unique string and bead bracelets in no time. So grab your supplies, unleash your creativity, and get ready to adorn your wrist with a piece of jewelry that reflects your unique personality!
This article was written by Stiven in combination with AI. The content described in this article is based on the author's personal opinions and data collection. If there are any errors or deficiencies, please correct me.

