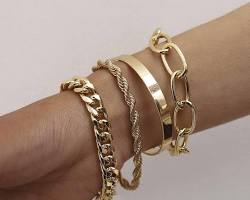
bead bracelets are a timeless and fun craft project, perfect for anyone looking to unleash their creativity or craft unique handmade gifts. With a variety of materials and styles to choose from, creating beautiful and personalized bead bracelets is easier than you might think! This beginner's guide will walk you through everything you need to know to get started, from gathering materials to tying the finishing knot.
Material Must-Haves for Your Beaded Masterpiece
The beauty of bead bracelets lies in their adaptability. You can use various materials to create bracelets that reflect your style. Here's a rundown of the essentials:

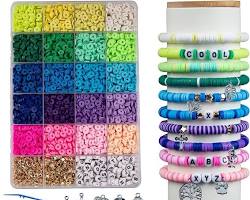
Beads: The star of the show! Beads come in all shapes, sizes, and materials like glass, plastic, or even gemstones. Consider the size of your beads about your desired bracelet design. Smaller beads allow for more intricate patterns, while larger beads create bolder statements.
String or Cord: This is the foundation that holds your beads together. Popular options include elastic cord (great for stretch bracelets), nylon thread (strong and versatile), or even colorful embroidery floss. Choose a material that complements your beads and suits the style of bracelet you're making.
Clasp (Optional): For easier wearability, consider adding a clasp. This is especially helpful for bracelets that go over the hand without stretching.
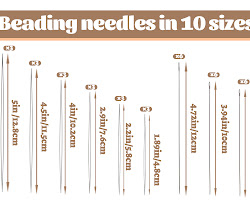
Scissors and Optional Tools: Scissors are a must-have for cutting your string/cord. Depending on your chosen technique, you might also need crimp beads (for a finished look with clasps) or a needle (for specific stringing methods).
Planning Your Design (Optional):
While not essential, planning your design can help create more complex patterns. Don't be afraid to experiment with different bead colors and sizes to visualize your creation. Online resources and craft store websites offer a wealth of inspiration for bead bracelet designs.
Let's Get Stringing: A Step-by-Step Guide
Now that you have your materials gathered, it's time to bring your design to life! Here's a basic guide to creating a beautiful bead bracelet:
Measure and Cut Your String/Cord: Measure the string/cord to your desired bracelet length, adding a few extra inches for knots.
Stringing the Beads: Begin threading your beads onto the string/cord. You can arrange them in a simple pattern or get creative!
Tying the Knots: Once you've strung your beads, it's time to secure the bracelet. A basic square knot or surgeon's knot will do the trick. Numerous online tutorials demonstrate these knots in detail.
Adding a Clasp (Optional): If you're using a clasp, follow the instructions specific to your chosen clasp type to attach it securely to the bracelet ends.
Finishing Touches and Beyond!
Once you've secured the ends of your bracelet, trim any excess string/cord and double-check that all your knots are tight. There you have it – your very own handmade bead bracelet!
Embracing Creativity: Tips and Variations
The world of beading is vast and exciting! Here are a few ways to take your bead bracelet creations to the next level:
Explore Different Bead Sizes and Colors: Don't be afraid to mix and match bead sizes and colors. You can create interesting patterns or alternate large and small beads for visual intrigue.
Experiment with Stringing Techniques: As your skills progress, you can delve into more advanced stringing techniques like using crimp beads for a professional finish or the peyote stitch for creating geometric beadwork. There are countless tutorials available online to guide you through these techniques.
With a little practice and exploration, you'll be a beading pro in no time! Bead bracelets are a fun and rewarding craft, perfect for personal expression or for creating unique gifts. So why not gather your materials and unleash your creativity? You might be surprised by the beautiful and personalized pieces you can create.
This article was written by Stiven in combination with AI. The content described in this article is based on the author's personal opinions and data collection. If there are any errors or deficiencies, please correct me.

